


It really doesn't take very long to do, even though it's tedious, and it's a super cheap way to letter a shirt!
Materials:
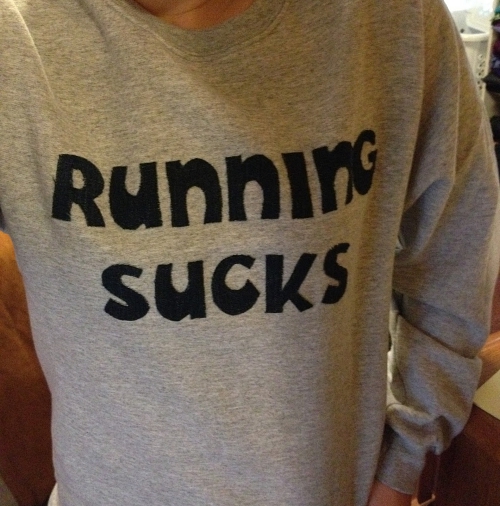
*A shirt or other article of clothing (that can be ironed... I've used sweatshirts, t-shirts, and tech shirts without problems). For this tutorial, I used a track jacket that I found at a thrift store. It had embroidery on the left chest part, so I ripped out the embroidery and wanted to cover it with my name.

*A contrasting fabric for the lettering (I've used denim on sweatshirts, or just cotton on the other shirts). For this project, I just chose white cotton.
*Letter stencils (whatever size/font you'd like; found with the painting supplies at a craft store, usually):

*Double-stick fusible webbing:

*An iron
*A fabric pencil (or, if you're a simpleton like me, just a ballpoint pen)
*Scissors for fabric
*Sewing machine and thread (optional, to reinforce lettering with top-stitching)
Instructions:
First, iron the fabric that you plan to use for the lettering to make sure it's nice and smooth. Then, you'll use the letter stencil to trace out your letters onto your fabric with the fabric pencil (or pen, in my case). I like to flip the stencil over, and trace onto the WRONG side of the fabric, so that the ink isn't visible once it's done.


Once you have all of the letters traced, you'll use the double-stick webbing. The webbing has three pieces--wax paper, a layer of glue web, and then another piece of wax paper:
 | |
|
Peel off ONE of the layers of wax paper and discard it. Then press the glue side of the webbing down onto the letters you've traced onto the fabric.


 |
| The glue side goes down on the back of the letters. On the top is the wax paper. |


After placing the letters where you want them, carefully cover them with a scrap of fabric (or press cloth). You don't want to press the iron directly onto the letters or your shirt, so the fabric is just a thin barrier to protect them. I put the iron on the synthetic setting, but just use your discretion. Iron very well, making sure to press all the edges and corners of each letter.


For the jacket, I just chose to use a white thread. Use the sewing machine to sew as closely as possible around each letter. (Don't try to sew the letters without doing the webbing part above, though--they will be really difficult to sew.)


So this is my simple but effective way to add letters to shirts! Hopefully it's helpful :)


Very cool Katie. Thanks for the tutorial--I'm all ready if I find anything I want to put my name (or grandkid's) names on. When my youngest was little, I cross-stitched his name on his sweatshirt with disposable cross-stitch fabric. My only regret--he grew out of his sweatshirt way too fast, and it was a lot of work!
ReplyDeleteThanks for the tutorial! I suck with the sewing machine, but I could probably hand sew the letters if it was a short enough word. ;-)
ReplyDeleteThanks for the tutorial.
ReplyDelete