
Here is a printer-friendly PDF copy!
Materials:
- worsted weight yarn in white, red, and blue. Not sure how much of the white yarn I used, but I would estimate maybe 80 yards? The red and blue were just scraps.
- US 5 double-pointed needles
- 1 US 5 circular needle (for holding stitches--if you don't have one, you could thread a piece of yarn through the stitches to hold them)
- crochet hook for provisional cast-on
- yarn markers
- tapestry needle
- batting for stuffing the pillow
- not important
- PM- place marker
- KLL- knit left loop: with your left needle, pick up the left loop of the stitch TWO ROWS below the last completed stitch, and knit it through back loop (an increase made)
- WNKS- wrap next stitch: turn the work, then slip the first stitch on the right hand needle to the left hand needle. Send the working yarn back between the needles, then slip that unworked stitch back onto the right hand needle. Then bring the yarn forward to purl.
- WNPS- wrap next purl stitch: turn the work, then slip the first stitch on the right hand needle to the left hand needle. Bring the working yarn forward between the needles, then slip that unworked stitch back onto the right hand needle. Then send the yarn to the back again.
- K2tog- knit the next two stitches together.
- KWS- knit wrapped stitch: insert your right needle under the "wrap" first, then the stitch that it is wrapped around. Knit them both together.
Provisionally cast-on 40 sts, divide evenly on dpns, and join to work in the round. PM to mark beginning of each round.
Rnds 1-5: Knit.
Rnd 6: *K8, K2tog* Repeat from * around.
Rnd 7: Knit.
Rnd 8: *K7, K2tog* Repeat from * around.
Rnd 9: Knit.
Rnd 10: *K6, K2tog* Repeat from * around. (You should have 28 sts)
Rnd 11: Knit.
Rnd 12: *K7, KLL* Repeat from * around. (Don't forget to KLL after the very last stitch of the round--you'll have 32 sts now)
Rnd 13: Knit.
Rnd 14: *K8, KLL* Repeat from * around. (36 sts)
Rnd 15: Knit.
Rnd 16: *K9, KLL* Repeat from * around. (40 sts)
Rnds 17-19: Knit.
Rnd 20: K the first 20 sts with the circ needle (or use dpns and slip the 20 sts onto a stitch holder or slide a scrap piece of yarn through the sts) Let these hang around, you'll be working them later. K the last 20 with the dpns--you'll be working these sts now.
CO 2 sts, and join into the round (22 sts on the dpns now).
Rnds 1-2: Knit.
Rnd 3 (short rows): K18, WNKS. P14, WNPS. K9, WNKS. P7, WNPS. K7, KWS, K4, KWS, K3 (you should be at the end of the round now).
Rnd 4: Knit, KWS as needed.
Rnd 5-6: Knit.
Rnd 7: K to last 4 sts, *K2tog* twice. (you should have 20 sts)
Rnd 8: Knit.
Rnd 9: *K3, K2tog* across.
Rnds 10-11: Knit.
Rnd 12: *K2, K2tog* across.
Rnd 13: Knit.
Rnd 14: *K1, K2tog* across.
Rnd 15: Knit. Break yan, and thread remaining yarn through sts and pull tight.
Using the stitches from the circ needle (or holder) join yarn and knit around. CO 2 sts and join in the round. Repeat rounds 1-15 above. Sew the opening between the legs.
Working the "crown":
"Unzip" the provisional cast-on carefully, slipping each stitch onto a dpn. PM at the beginning of the round, and after the 20th stitch to mark the center. (I used 4 dpns, with 10 sts on each needle)
Rnd 1: Knit.
Rnd 2 (short rows): *K14, WNKS, P8, WNPS, K8, KWS*, K to middle PM. Repeat between *, then K to start of round (KWSts as needed).
Rnd 3: Knit around, KWSts as needed).
Rnds 4-5: Repeat rnds 2 and 3.
You may want to stop here and fill the pillow with the batting before going on. I used a pencil eraser to stuff it into the "legs".
Rnd 6: *K2, K2tog* around.
Rnd 7: Knit.
Rnd 8: *K1, K2tog* around.
Rnd 9: *K2tog* around. Break yarn, and draw through remaining sts. Make sure you have as much stuffing as you want, then pull tight and weave in ends.
Pocket:
CO 10 sts with red (or whatever color you want).
Rnd 1: Sl1, *P across*
Rnd 2: Sl1, *K across*
Repeat for 7 rows. BO. Sew the pocket onto the tooth pillow.
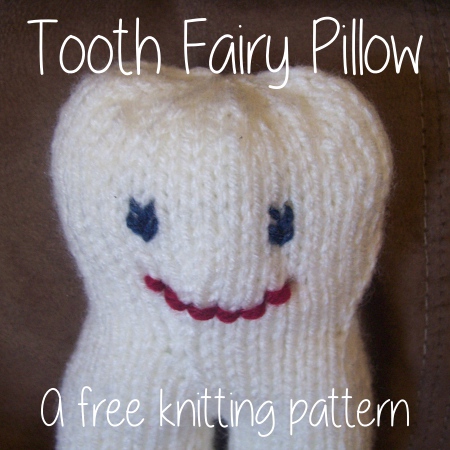
For the face, you can embroider eyes and a mouth (I just used scrap yarn for this).


(Copyright notice: This is an original pattern created by myself, and may not be distributed without my written consent. You may link to this pattern, and use the photos with a link back to the pattern, but you may not sell the pattern or republish the pattern in any way. Thank you!)


No comments:
Post a Comment
I used to publish ALL comments (even the mean ones) but I recently chose not to publish those. I always welcome constructive comments/criticism, but there is no need for unnecessary rudeness/hate. But please--I love reading what you have to say! (This comment form is super finicky, so I apologize if you're unable to comment)